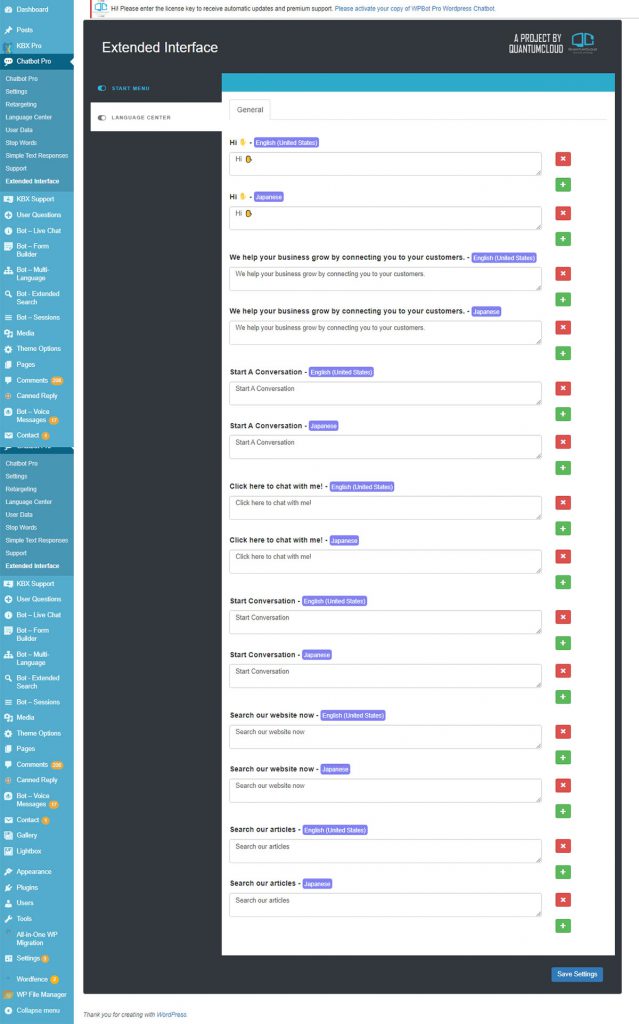
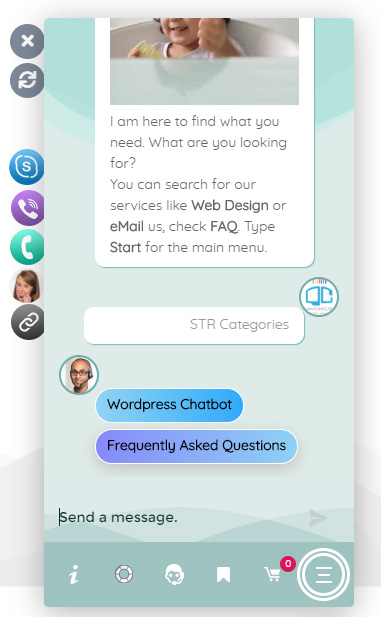
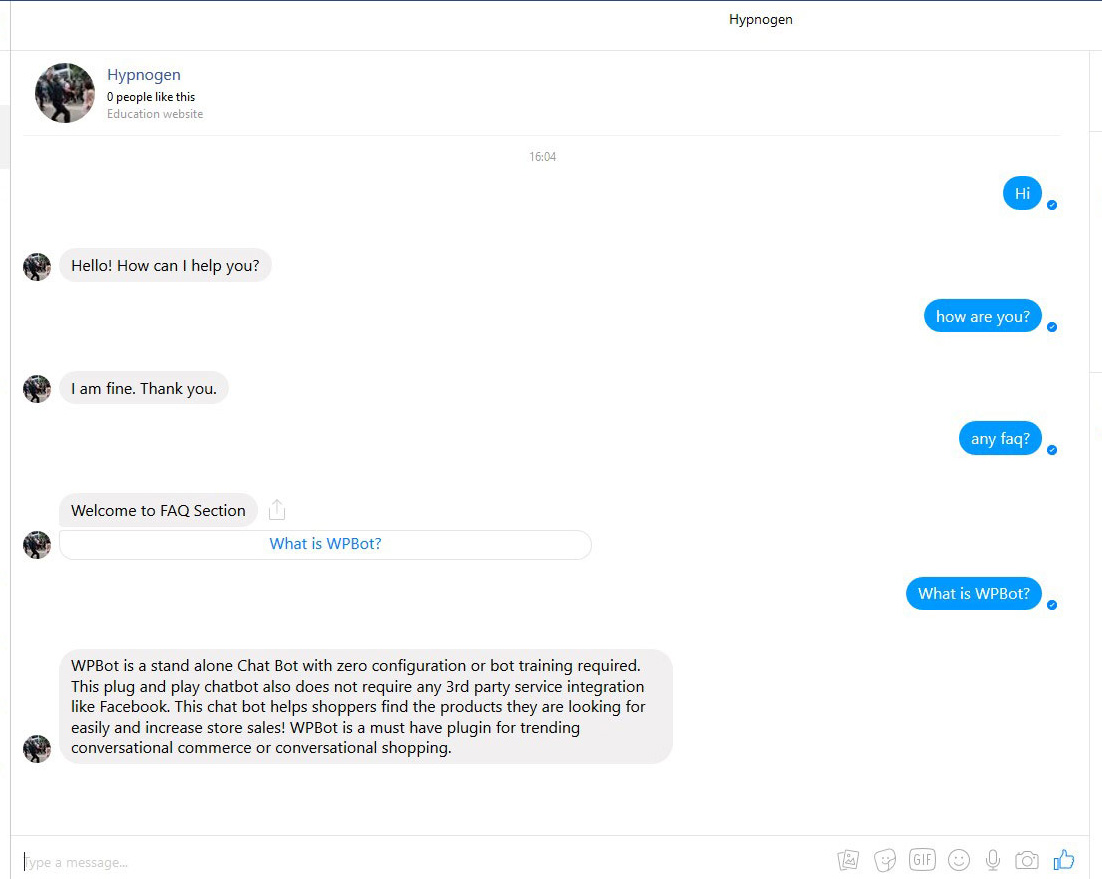
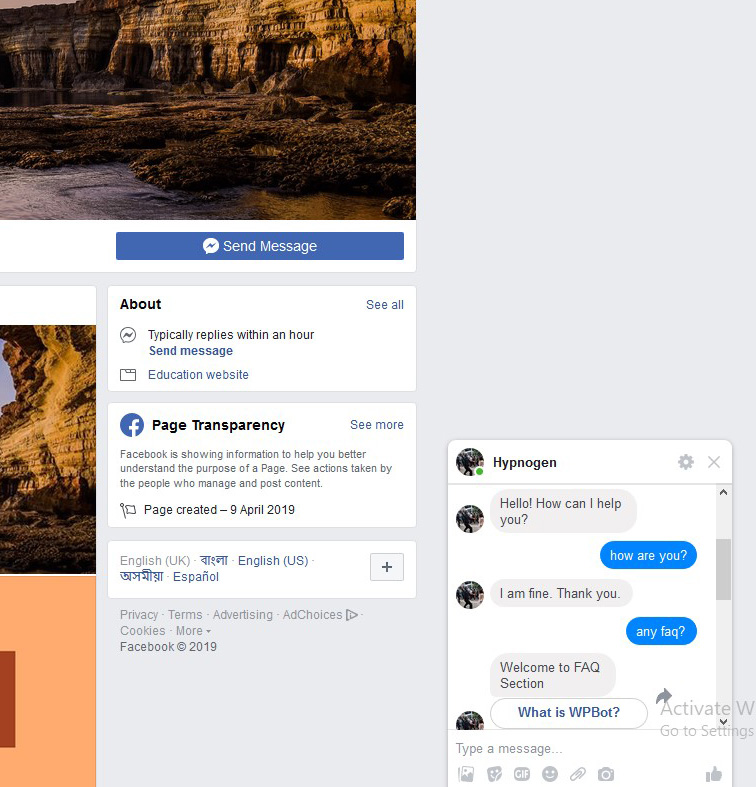
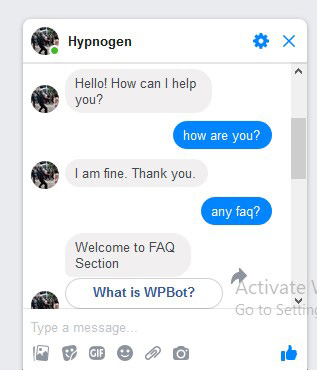
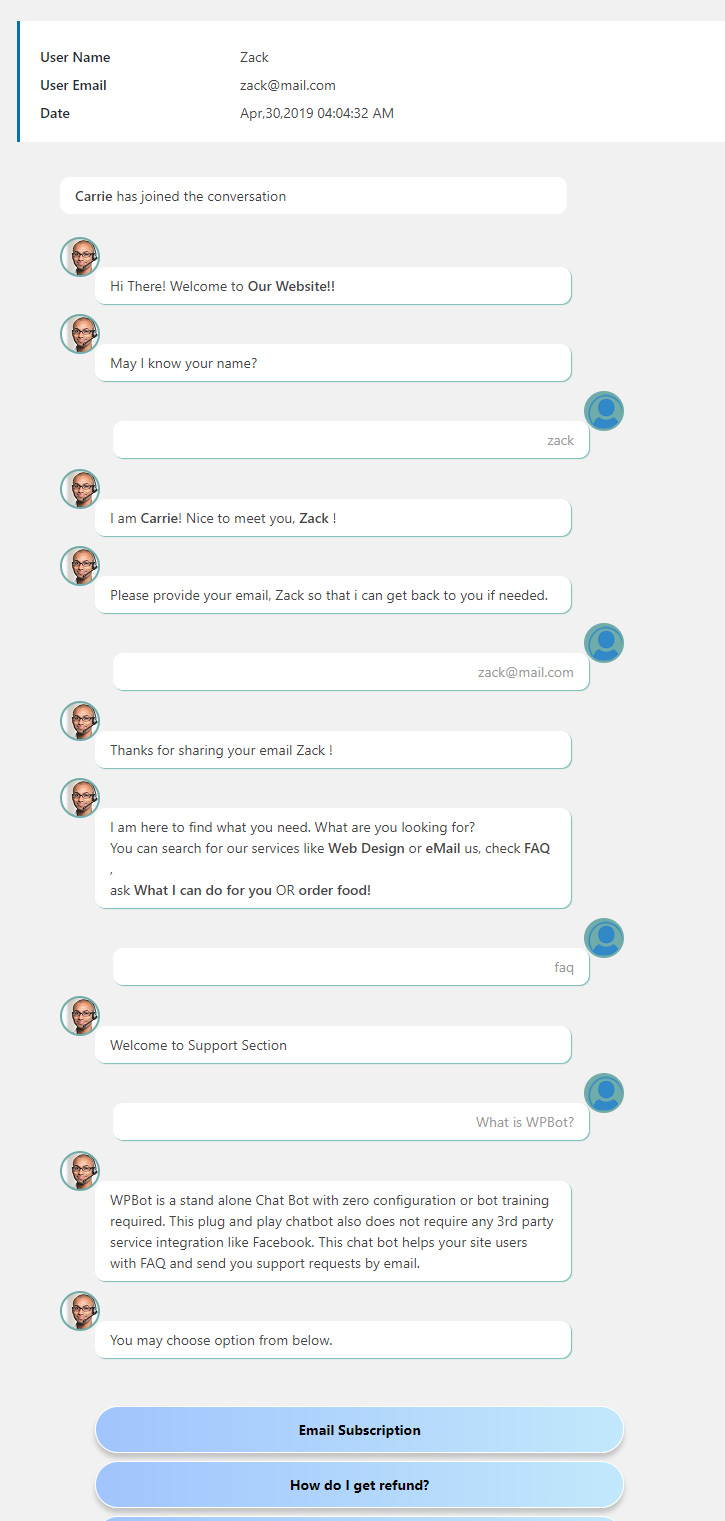
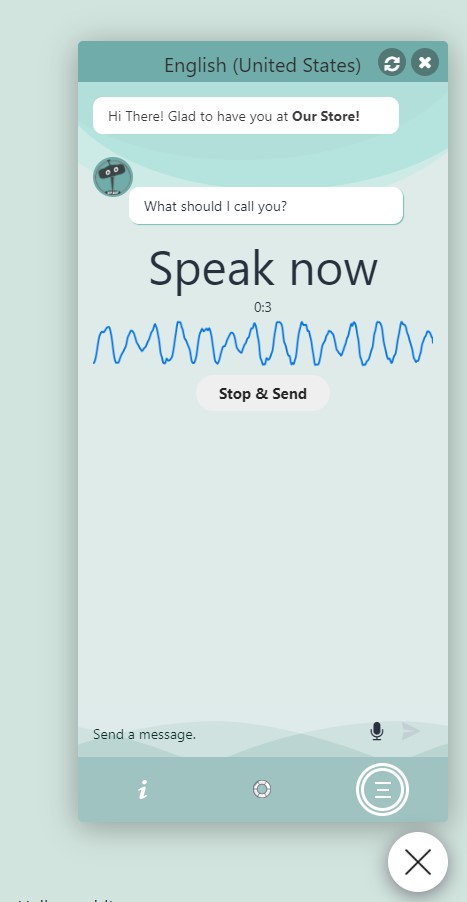
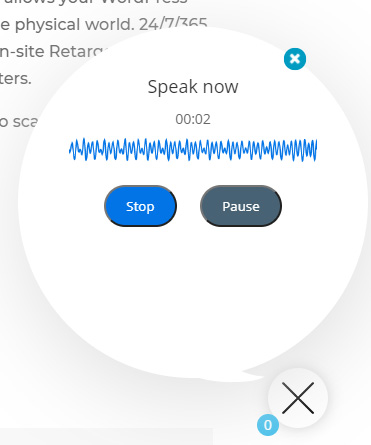
Click here to chat with me!
Search our website now
Latest Products
Latest Posts
Lorem ipsum dolor sit amet, consectetur adipiscing elit. Praesent euismod dui vel magna fringilla sollicitudin. Pellentesque elementum tellus a faucibus vestibulum. Pellentesque eleifend tortor nunc, vitae pellentesque leo interdum finibus. Donec faucibus magna nec sagittis accumsan. Nulla fermentum velit massa, ac varius massa pulvinar eu. Nulla facilisi. Aenean mauris massa, cursus vel varius a, bibendum vitae felis. Vestibulum vulputate porttitor porta. Suspendisse elementum turpis in velit feugiat, ac bibendum nisl vehicula. In consequat libero ac maximus blandit. Integer vel dictum purus. Donec luctus enim interdum lacinia ornare. Nam vitae ultrices nisl, non posuere enim. Class aptent taciti sociosqu ad litora…
Lorem ipsum dolor sit amet, consectetur adipiscing elit. Praesent euismod dui vel magna fringilla sollicitudin. Pellentesque elementum tellus a faucibus vestibulum. Pellentesque eleifend tortor nunc, vitae pellentesque leo interdum finibus. Donec faucibus magna nec sagittis accumsan. Nulla fermentum velit massa, ac varius massa pulvinar eu. Nulla facilisi. Aenean mauris massa, cursus vel varius a, bibendum vitae felis. Vestibulum vulputate porttitor porta. Suspendisse elementum turpis in velit feugiat, ac bibendum nisl vehicula. In consequat libero ac maximus blandit. Integer vel dictum purus. Donec luctus enim interdum lacinia ornare. Nam vitae ultrices nisl, non posuere enim. Class aptent taciti sociosqu ad litora…
Lorem ipsum dolor sit amet, consectetur adipiscing elit. Praesent euismod dui vel magna fringilla sollicitudin. Pellentesque elementum tellus a faucibus vestibulum. Pellentesque eleifend tortor nunc, vitae pellentesque leo interdum finibus. Donec faucibus magna nec sagittis accumsan. Nulla fermentum velit massa, ac varius massa pulvinar eu. Nulla facilisi. Aenean mauris massa, cursus vel varius a, bibendum vitae felis. Vestibulum vulputate porttitor porta. Suspendisse elementum turpis in velit feugiat, ac bibendum nisl vehicula. In consequat libero ac maximus blandit. Integer vel dictum purus. Donec luctus enim interdum lacinia ornare. Nam vitae ultrices nisl, non posuere enim. Class aptent taciti sociosqu ad litora…


